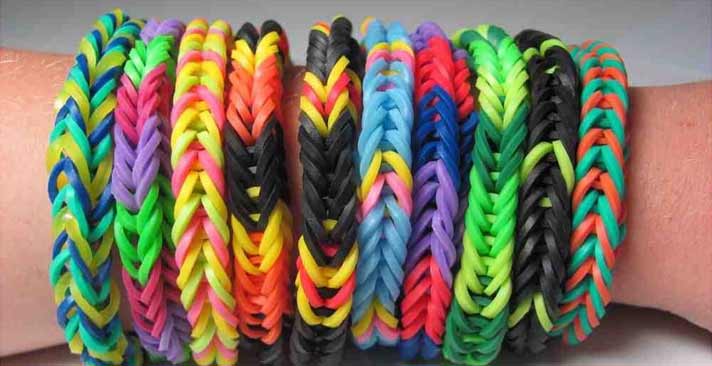
Georgia-Pacific, makers of EnMotion hygienic towel dispensers have put together an assortment of freebies: free printable coloring pages, lesson plans, games and activities. Plus order free Icky bands bracelets like silly bands for your children.
Visit the Georgia Pacific En-Motion website here. On the homepage to right, you will see the link to order your free Icky Bands bracelets. Icky Bands are like Silly Bandz silicone animal shaped bracelets. Bracelets come in four designs featuring Master Mo, Octogunk, Dirt McGirt and Mr. Mee-yucky. Icky Bands resemble bacteria and germs shapes. Icky bands come in 8 packs and you may order up to four packages. To order your free Icky Bands, simply fill out the form with your name, address and email address. Your Icky Bands bracelets will arrive in 4-6 weeks.
Why Icky Bands Bracelets are So Popular?
Icky Bands bracelets make perfect classroom give-aways for teachers, homeschoolers, nurses, public health care workers, dentists and other other health care professionals. Icky Bands bracelets are a great visual reminder for children to wash their hands and use hand sanitizer. Click here to visit the links on the website for free printable activities to teach students more about germs, hygiene, hand-washing and health. Print germ and Icky Bands bracelets character coloring pages. Use the free printable sequencing lesson to show children the correct order for washing hands. Students can color this also. You can also print a connect the dots page, fill-in-the-blanks hygiene lesson and several other health and hygiene lesson plans.
There are free online games and songs for children to enjoy also. Click here to play. Students will enjoy the cute online video featuring Master Mo, Octogunk, Dirt McGirt and Mr. Mee-yucky. Icky Band bracelets make great Halloween trick-or-treat prizes. The lessons will come in handy for teachers to explore Halloween health, safety and hygiene with children as they go out trick-or-treating. For more on health and education, visit the links attached.
How to Create a Tri-Color Spiral Bracelet
This simple bracelet is colorful and elegant on its own, but several strands can also be combined to create a larger piece of jewelry. Beads can be added for a more formal bracelet, and charms can be used to turn it into a lovely decorative gift for young women.
You will need several skeins of embroidery thread or silk cord, at least one of each color, clear drying craft glue, clear tape, and one large bead to create a closure for the bracelet. In addition, you will need a way to affix one side of the bracelet temporarily while you are working on the piece. You can use a clipboard for this, or a large safety pin and a large heavy pillow.
Measure your wrist. You will need one strand of each color that is at least 7 times longer than this measurement. You will fold these strands so that one side is about 1½ times longer than the wrist measurement and the other side is about 5½ times longer. Slide the folds over the safety pin or under the clip. Tie this off with a length of any color thread, creating a loop that is just large enough to accept the closure bead.

Pull the longer strand of the first color to be used off to the left of the others. Holding it in place with your left hand, grasp the end of it with your right and pull it across the top of the grouped thread, to make a “4” shape. Pass the end back to the right under the threads and pull it up through the triangle of the 4 and let go with the left hand. Pull the thread tight, so that it creates a knot up against the loop that binds the strands. Repeat this until 1/3 of the wrist measurement has been tied with spiraling knots of this color. Repeat this process with each remaining color, until the full wrist measurement is covered in spiraled knots.
Trim the ends about 1 inch from the last knot. Place a small piece of tape over one end of the bead. Fill the inner chamber of the bead about 2/3 full with craft glue and slide the ends of the threads inside. Allow to dry.